
7/10/2016 Webmaster
Creating a Hello World! Bot Using The Microsoft Bot Framework
Note: This article has been updated to Microsoft Bot Framework version 3.0

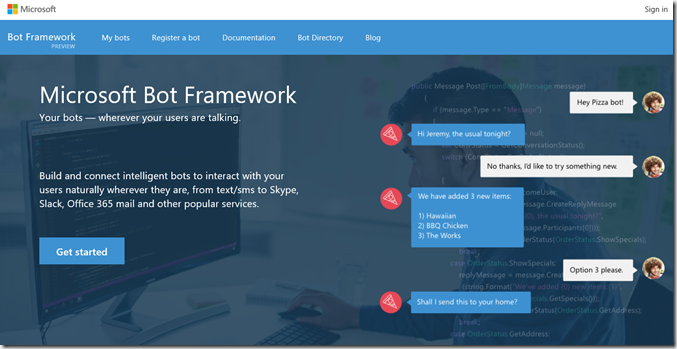
The Microsoft Bot Framework allows you to easily create bots.
You can create bots that interact with your users naturally wherever they are, including Facebook, text, Skype, Office 365 email mail, and other popular services.
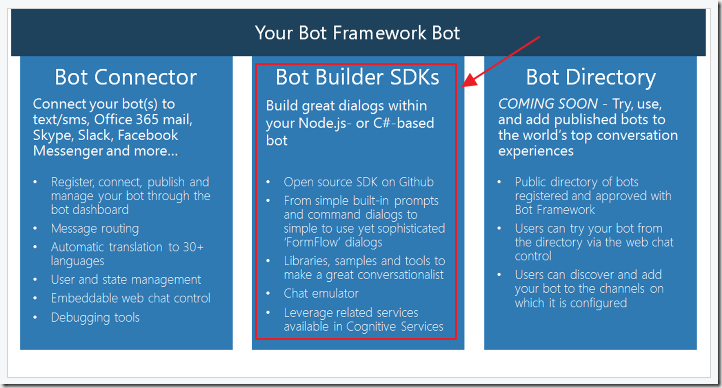
The Microsoft Bot Framework contains the following components:
- Bot Connector – A service that connects your bot to communication channels such as Facebook, Skype, and email.
- Bot Builder – A C# and Node.js library that provides a powerful framework for constructing bots that can handle freeform and guided interactions.
- Bot Directory – A directory of Bots that you can connect to.
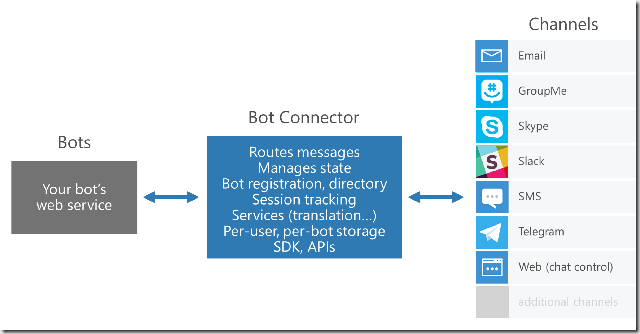
The Bot Connector helps you connect your Bot to communication channels. You can write a Bot and expose the Microsoft Bot Framework-compatible API on the internet.
The Bot Connector will forward messages to users, and will send the user messages back to your Bot.
The Bot Builder SDK is an open source SDK hosted on GitHub that provides everything you need to build dialogs. This library was created by bot developers at Microsoft to encapsulate functionality required for conversational bots.
Creating A Hello World! Bot
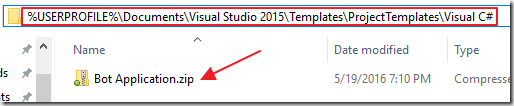
Download the Visual Studio 2015 template (using this link)
Save the .zip file in the templates directory (located at: %USERPROFILE%\Documents\Visual Studio 2015\Templates\ProjectTemplates\Visual C# ).
This creates a template that you can use in Visual Studio to create Bot projects.

Open Visual Studio.

Create a new Project.
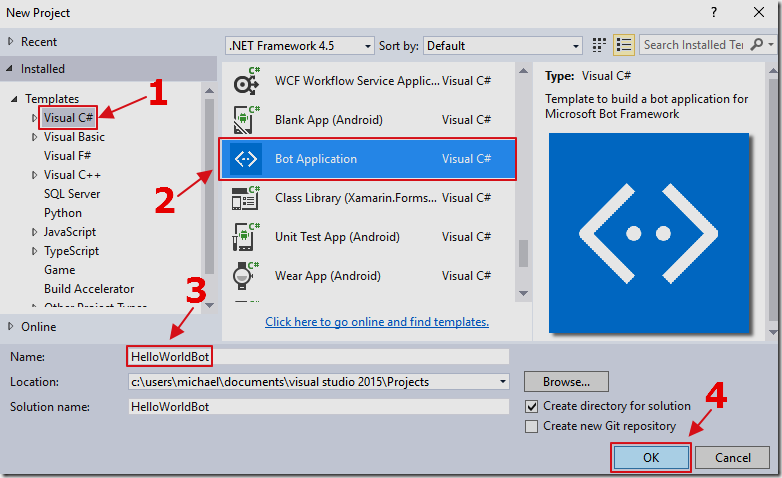
Select the Bot Application template and name the project HelloWorldBot.
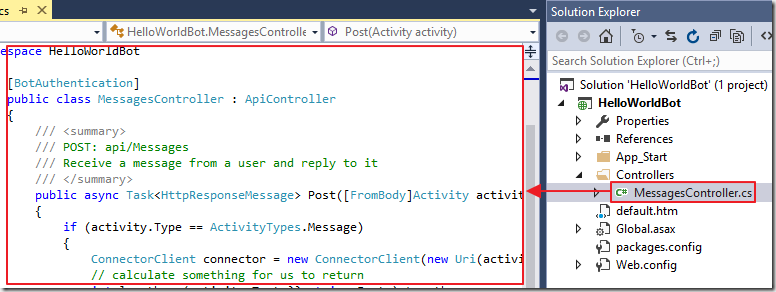
Open the MessagesController.cs file in the Controllers folder.
Change the Post method to the following:
    public async Task<HttpResponseMessage> Post([FromBody]Activity activity)
    {
        if (activity.Type == ActivityTypes.Message)
        {
            ConnectorClient connector = new ConnectorClient(new Uri(activity.ServiceUrl));
            // calculate something for us to return
            int length = (activity.Text ?? string.Empty).Length;
            // return our reply to the user
            Activity reply = activity.CreateReply($"Hello World! You sent {length} characters");
            await connector.Conversations.ReplyToActivityAsync(reply);
        }
        else
        {
            HandleSystemMessage(activity);
        }
        var response = Request.CreateResponse(HttpStatusCode.OK);
        return response;
    }
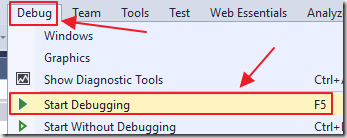
Hot F5 to run the project.
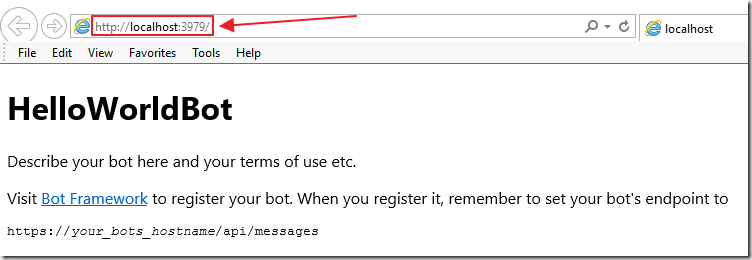
Note the web address.
you will need it in the next step.
Using The Bot Emulator
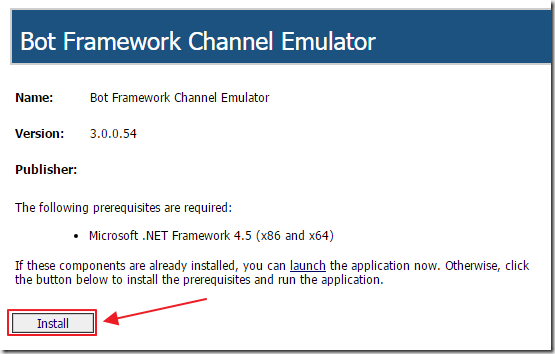
Download, install, and run the Bot Framework Emulator (Windows) (also see: Mac and Linux support using command line emulator if you don’t have Windows).
When the emulator starts, connect to to Bot by setting the address to the the one indicted in the web browser (however, add /api/messages to the end).
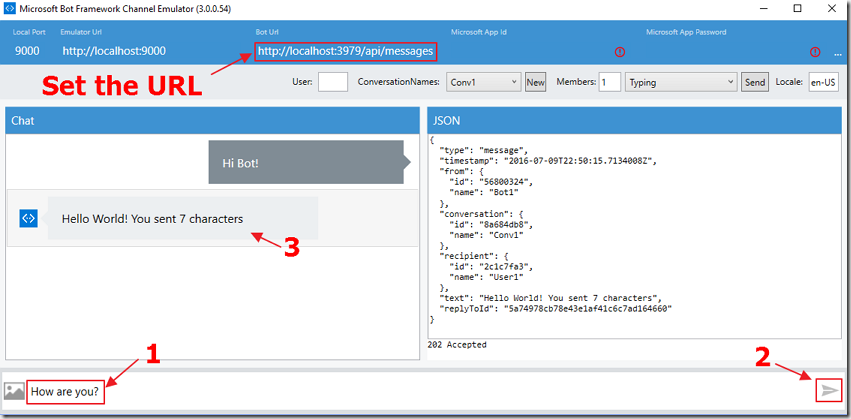
In the Bot Emulator, enter Hello in the text box and click the send key (or press enter).
You will see the response in the Chat window and the JSON contents of the response in the JSON window.
Saving User Data
An Important part of any conversation is remembering what a user has previously said.
We can do this using GetPrivateConversationData and SetPrivateConversationData.
To demonstrate how this is handled, add the following to the top of the MessagesController.cs file in the Controllers folder:
using System.Text;
Next, change the Post method in the MessagesController.cs file to the following:
public async Task<HttpResponseMessage> Post([FromBody]Activity activity)
{
// Global values
bool boolAskedForUserName = false;
string strUserName = "";
if (activity.Type == ActivityTypes.Message)
{
// Get any saved values
StateClient sc = activity.GetStateClient();
BotData userData = sc.BotState.GetPrivateConversationData(
activity.ChannelId, activity.Conversation.Id, activity.From.Id);
boolAskedForUserName = userData.GetProperty<bool>("AskedForUserName");
strUserName = userData.GetProperty<string>("UserName") ?? "";
// Create text for a reply message
StringBuilder strReplyMessage = new StringBuilder();
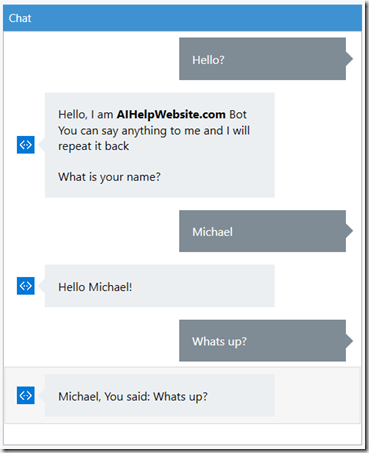
if (boolAskedForUserName == false) // Never asked for name
{
strReplyMessage.Append($"Hello, I am **AIHelpWebsite.com** Bot");
strReplyMessage.Append($"\n");
strReplyMessage.Append($"You can say anything");
strReplyMessage.Append($"\n");
strReplyMessage.Append($"to me and I will repeat it back");
strReplyMessage.Append($"\n\n");
strReplyMessage.Append($"What is your name?");
// Set BotUserData
userData.SetProperty<bool>("AskedForUserName", true);
}
else // Have asked for name
{
if (strUserName == "") // Name was never provided
{
// If we have asked for a username but it has not been set
// the current response is the user name
strReplyMessage.Append($"Hello {activity.Text}!");
// Set BotUserData
userData.SetProperty<string>("UserName", activity.Text);
}
else // Name was provided
{
strReplyMessage.Append($"{strUserName}, You said: {activity.Text}");
}
}
// Save BotUserData
sc.BotState.SetPrivateConversationData(
activity.ChannelId, activity.Conversation.Id, activity.From.Id, userData);
// Create a reply message
ConnectorClient connector = new ConnectorClient(new Uri(activity.ServiceUrl));
Activity replyMessage = activity.CreateReply(strReplyMessage.ToString());
await connector.Conversations.ReplyToActivityAsync(replyMessage);
}
else
{
Activity replyMessage = HandleSystemMessage(activity);
if (replyMessage != null)
{
ConnectorClient connector = new ConnectorClient(new Uri(activity.ServiceUrl));
await connector.Conversations.ReplyToActivityAsync(replyMessage);
}
}
// Return response
var response = Request.CreateResponse(HttpStatusCode.OK);
return response;
}
Finally, alter the following section in the HandleSystemMessage method (in the MessagesController.cs file) to the following:
    if (message.Type == ActivityTypes.DeleteUserData)
    {
        // Get BotUserData
        StateClient sc = message.GetStateClient();
        BotData userData = sc.BotState.GetPrivateConversationData(
            message.ChannelId, message.Conversation.Id, message.From.Id);
        // Set BotUserData
        userData.SetProperty<string>("UserName", "");
        userData.SetProperty<bool>("AskedForUserName", false);
        // Save BotUserData
        sc.BotState.SetPrivateConversationData(
            message.ChannelId, message.Conversation.Id, message.From.Id, userData);
        // Create a reply message
        ConnectorClient connector = new ConnectorClient(new Uri(message.ServiceUrl));
        Activity replyMessage = message.CreateReply("Personal data has been deleted.");
        return replyMessage;
    }

Now when we chat with the Bot it can remember our name.
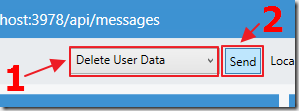
If we tell it to Delete User Data…

It will respect our wishes.
Publishing The Bot
To connect your Bot to the Bot Connector, you will first need to publish it in a publically accessible location.
This can be any server, however, publishing to Azure is recommended because publishing to it has built-in support in Visual Studio.
First, go to https://azure.microsoft.com and create an account and a subscription if you don’t already have one.
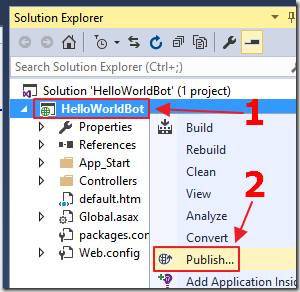
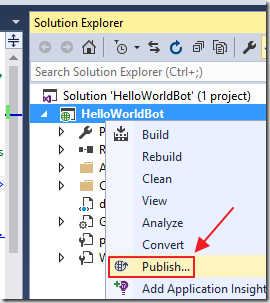
Next, Right-click on the Project node (not the Solution node) in Visual Studio and select Publish.
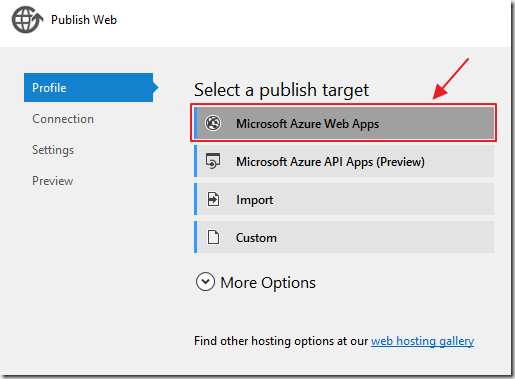
Select Microsoft Azure Web Apps.
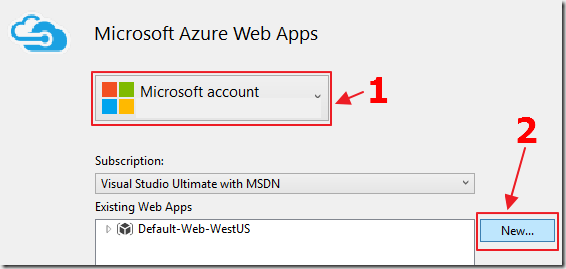
Sign into your Azure account, select a subscription, then click the New button.
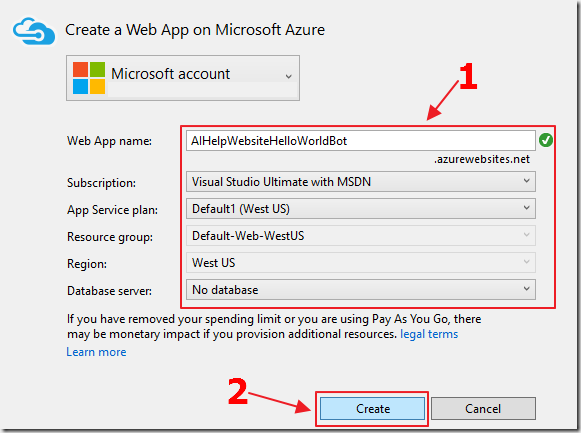
Enter a unique Web App name, select your subscription, select or create a service plan, resource group and region, and click the Create button.
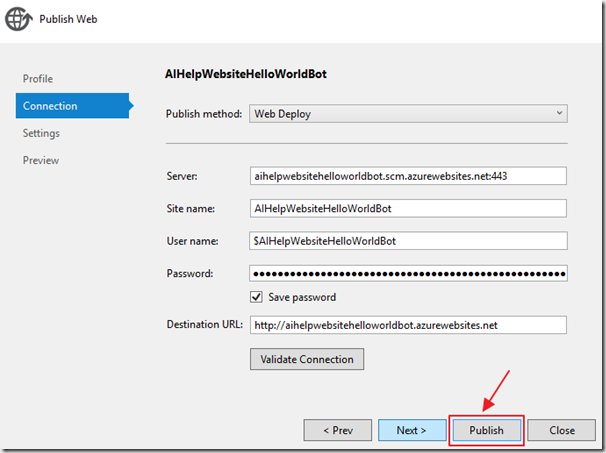
After the web app has been created, click the Publish button.
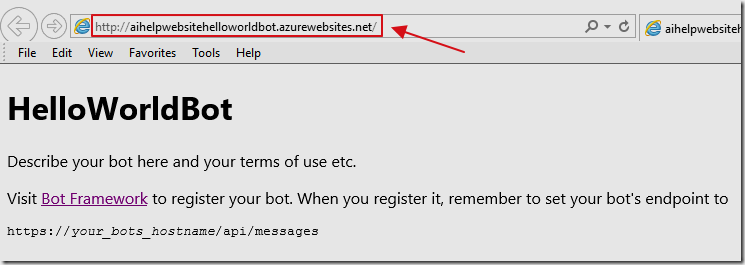
The web app will open in the web browser.
Note the web address, you will need it in a later step.
Registering The Bot With The Bot Connector

Go to the Microsoft Bot Framework portal at https://www.botframework.com and sign in with your Microsoft Account.
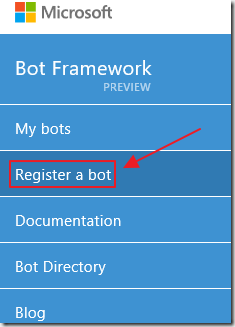
Select Register a bot.
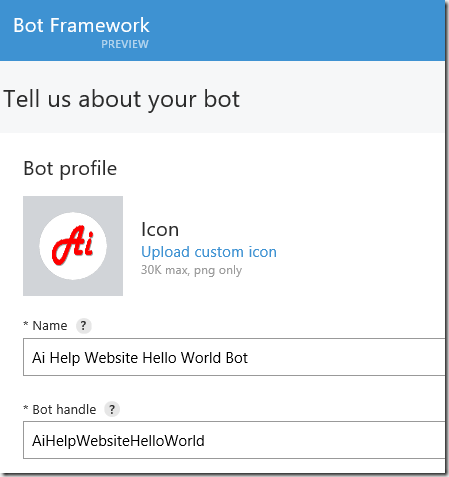
Fill in all the fields.
Note: That the end point web address is what you saw when the web browser opened in the previous step. However, remember that you have to add “/api/messages” to the end of the address and use “https://” rather than “http://”.

At one point you will click a link to go to:
https://apps.dev.microsoft.com
It is there that you will get an Application ID and a password.
Make a note of them because you will need to use them to update the Visual Studio project later.
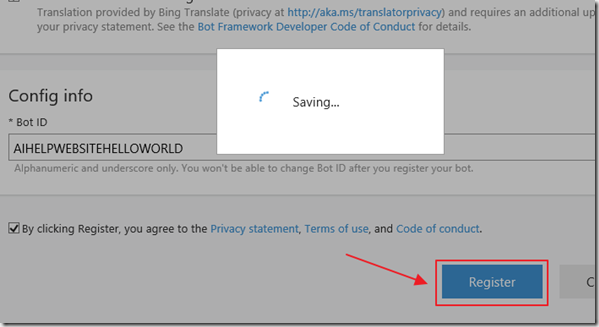
Click the Register button.
The Bot registration will be created.
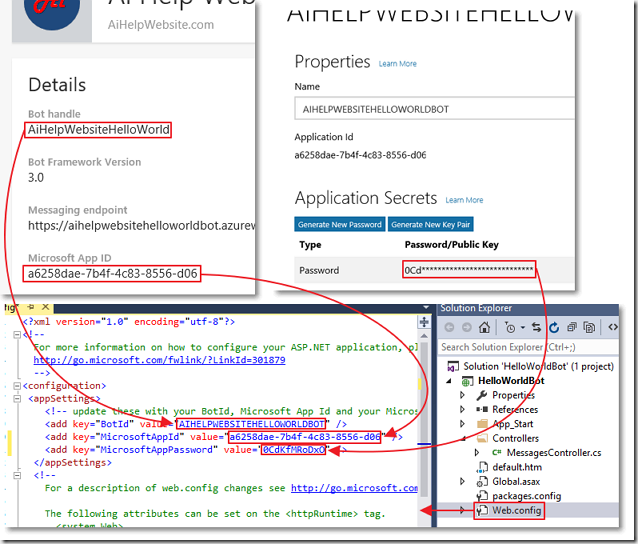
Copy the Bot ID and MicrosoftAppId from the https://dev.botframework.com site, and MicrosoftAppPassword from the https://apps.dev.microsoft.com site to the web.config of the Bot in Visual Studio.
Note: If you forgot to note the MicrosoftAppPassword in the earlier step, you can click the Generate New Password button to create another one.
Publish the Bot again.
You are doing this because the Bot Connector will pass the Bot ID and MicrosoftAppId and MicrosoftAppPassword when it communicates with it.

You can now test your Bot using the Bot Connector web page.
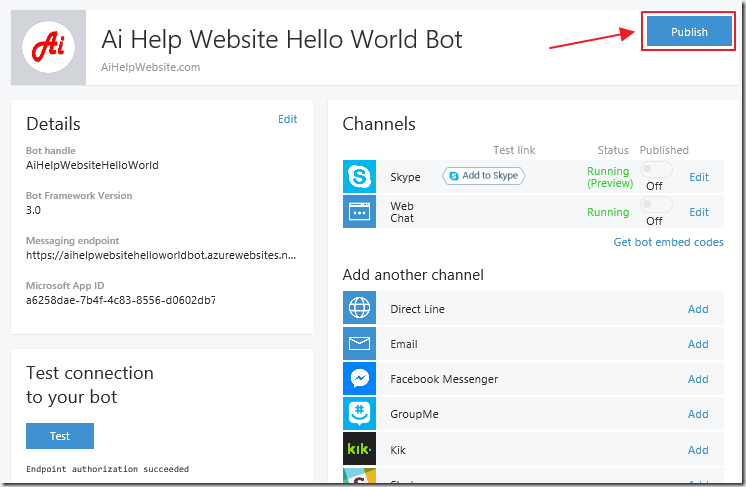
If you desire, you can click the Publish button to submit your bot to the Bot Directory.
You can also configure channels to your Bot.
Even if you do not publish it to the Bot Directory, you can still call if from your own applications and through any channels you configure.
Links
Microsoft Application Registration Portal (https://apps.dev.microsoft.com)
Bot Framework Forum (stack overflow)
Visual Studio 2015 Bot Project Template
Bot Framework Emulator (Windows)
Download
You can download the code from the Download page